Tuesday, May 21, 2013

Distractions ate my productivity....

I keep meaning to get back to some of the big projects I've started (like finishing my Pep Space Marine Helmets), but fun stuff and minutiae keep getting in the way.

One reason for this is that as soon as my friends heard that Colossus has taken up residence, they started coming up with clever things for him to create. A gardener friend lamented that she was having trouble keeping the snails out of her potted plants, and though that I should come up with a solution for her. So I came up with this:

Snails Beware!
I call it a SnailGuard (catchy, eh?). The modular construction makes it easily printable on most 3d printers, and allows assembly in a number of shapes by connecting them together using the little stakes pictured. The stakes act to hold the gadget in place, as well as together. I've also created a straight piece to allow assembly of non-circular shapes for larger or odd shaped containers. I'll be posting the files on Thingiverse soon if you'd like to download and make your own.

Another distraction was the chance to cross off one of our bucket list items, a trip to Havasupai, at the south rim of the Grand Canyon. If you're willing to do the ten mile hike down and back, it's a sight that is well worth seeing. We took the long way there in order to stay over in Durango, Colorado and visit Mesa Verde National Park, another must see destination. We hit the Four Corners monument along the way as well.

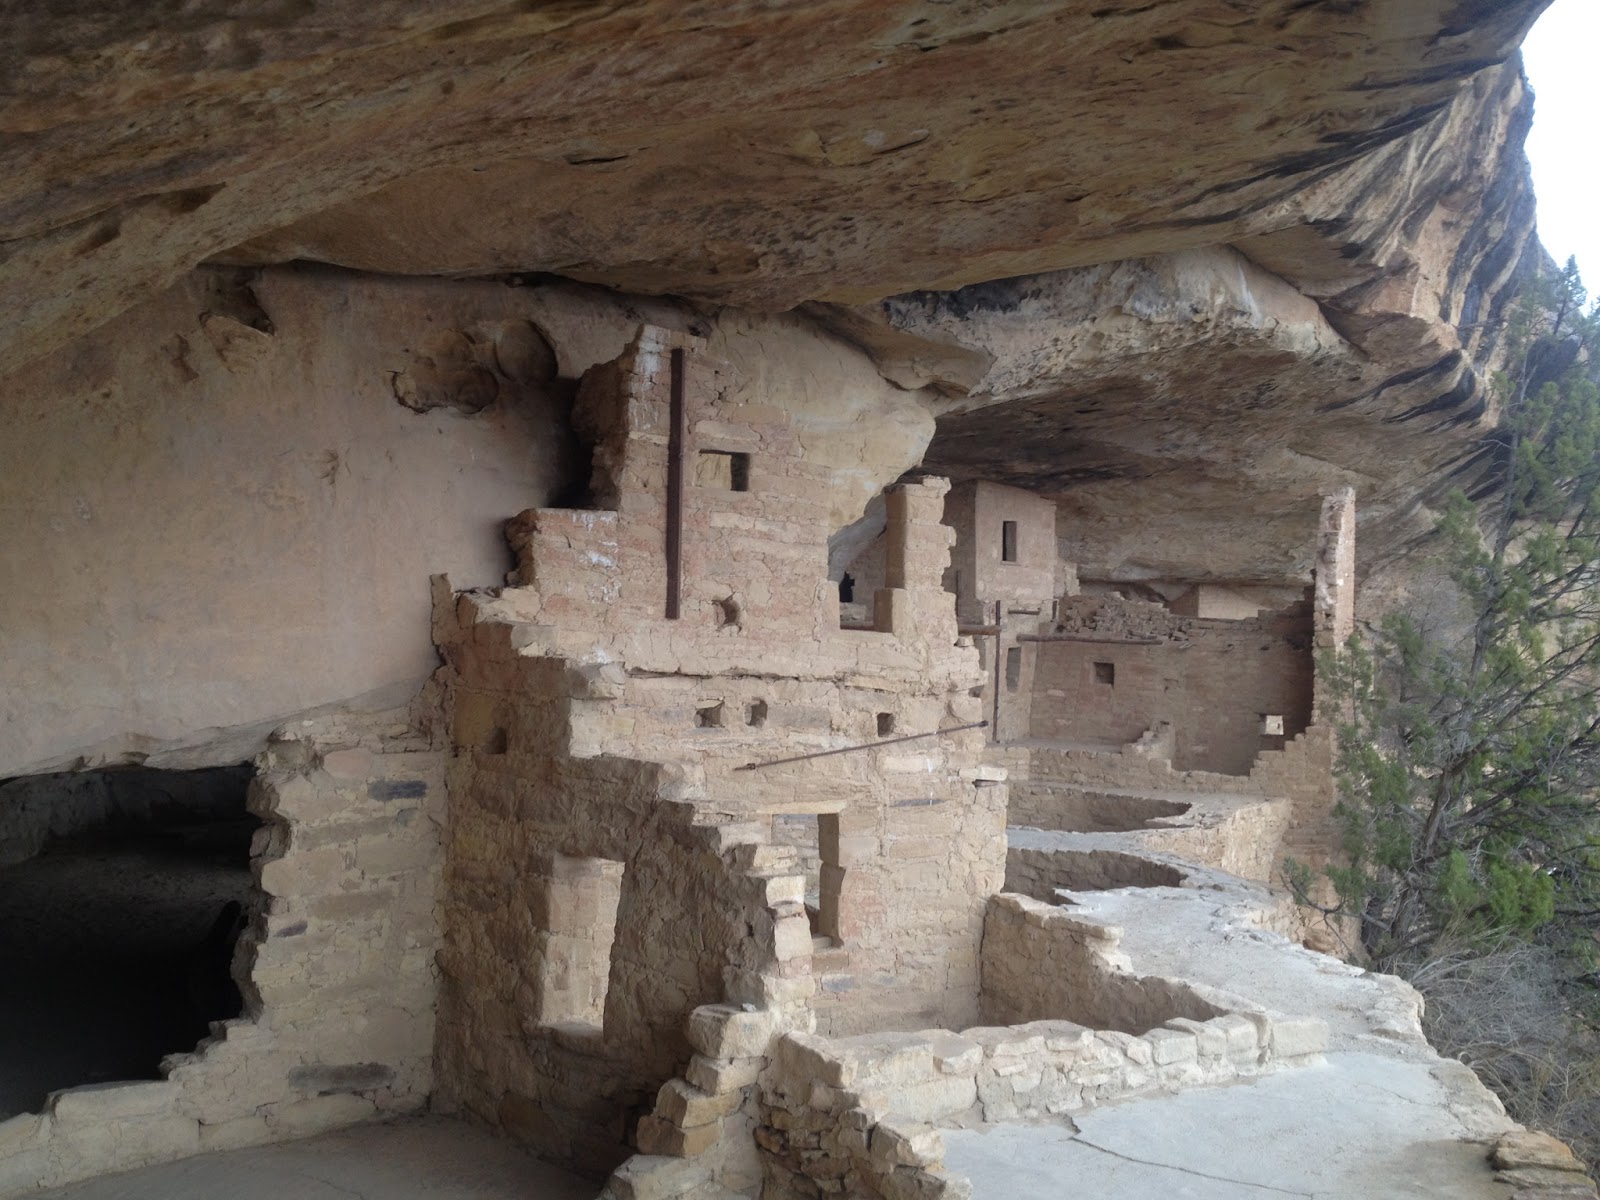
Balcony House at Mesa Verde

The Four Corners Survey Marker

Havasu Falls, Havasupai

 Hiking Havasu Creek among the lush mountain grape vines

Walking up creek towards Mooney Falls

And of course, I am my own worst distraction.... 

After coming home from Havasupai, I began to do some spring cleaning in the garage shop. I had recently purchased some parts bins from that one home place, and when I got them home I found that the manufacturer had decided that bin dividers were an accessory for which I ought to pay extra. Well, that wasn't happening. Colossus and I whipped up some of your own custom bin dividers. Two sizes, small and large!

Small bin divider, customized!

 The divider in place

 Poco y Grande, !Ole!

These will also go up on Thingiverse, but without the custom maker's mark. I'm vain, but come on.

Tuesday, April 16, 2013

New bees and more things!

As I mentioned before, my wife and I keep bees. This last winter was particularly harsh, and we lost all three hives. As a result, we are starting over this spring with two new hives. Here are our new girls.


They are in their new homes, and happily breeding. We'll be feeding them til the nectar runs. More pics next week!

On a related note, we think our hives did poorly because of too much moisture. There's an old tip to increase ventilation in hives - you glue popsicle sticks inside the outer cover to raise it up about an eighth of an inch, allowing the hot moist air to vent out. Problem is, it's hard to get the sticks off when you don't want them.

So, I came up with an alternative: removable bee vents!


I created these doodads out of PLA on Colossus (my M2 3D printer). You snap four of them into place on top of a brood or super hive compartment, and then add the inner and outer cover. The space allows moist air to vent out, but the space is too small for bees to get in or out of. This avoids robbing behavior (bees from other hives swiping honey). Like my outdoor light spike, I posted this on Thingiverse.

Thursday, March 28, 2013

Dr. Phil's mysterious ring...

OK, here's the complete scoop on the other 3D printing project that just came off of Colossus' hot little bed. What you see here is a 2 piece ring set holding a rubber dam. The dam is from a Zeiss scientific microscope.The idea and design behind the dam belongs to Phil Erschler,  PhD. Phil works with my wife at the Cardiovascular Research and Training Institute (CVRTI) on the campus of the University of Utah.

 Phil's mysterious ring, in position


The story:

Phil and I have been friends for years, and he's one of the few people I know who's a bigger geek than I am. Phil is the reason I have my new M2. At Christmas time we got talking about 3D printing, and he loaned me a copy of the MAKE Guide to 3D Printing. I ended up buying my own copy (who says piracy costs money?) and after careful consideration (read: about 10 minutes) I ordered Colossus.

Phil's first printer project is the ring retainer system you see here. It solves a serious problem with the Zeiss microscope in a rather elegant manner. This particular microscope is used to view tissue samples. The scope uses oil to change light refraction and improve image quality. The dam is supposed to protect the internals of the scope from the oil. Unfortunately what the folks at CVRTI observed is that the dam tends to buckle under the weight of the oil, allowing it to fail. 

Phils' ring solves that problem by stiffening the ring around its perimeter. Additionally, Phil created a central plug for the dam.

The assembly from the other side


The assembly installed on the microscope


It's a bit hard to see, but the really cool thing about Phil's solution is that he created two rings - a thicker support ring with a flanged lip, and a second thin ring that grabs the lip of the dam and sandwiches it between the two rings.  This required careful measurement of both the diameter of the ring, and the thickness of its lip. It further required a precisely calibrated 3D model and a correspondingly precise print. All told, I think we went through three iterations of prototyping print candidates to get to the final version. That's phenomenal when you think about the potential cost of doing this with conventional machining technology.

Nice work Dr. Phil, and thanks for letting me be a part of a cool solution.


Wednesday, March 27, 2013

My first (plastic) "Thing"!

As I mentioned previously, I've been working with a PhD friend on a 3d project for his lab. I've also been working on a couple of ideas of my own. One that I just completed is the kind of thing that a personal 3D printer seems perfect for - one off fabrication of parts that are otherwise almost impossible to get.

We have a really nice courtyard, courtesy of my wife. In the courtyard we have some low voltage accent lighting. Many of these are set at the base of our willow trees to light them up at night. Unfortunately the stakes that these lights come with are pretty chintzy. Made of soft plastic with poor tolerances. At least that's the excuse I made when I broke one...

So, Colossus to the rescue! After making some careful measurements, i ginned up what I think is a much improved version. Made of PLA, it's tougher than the standard stake. To be sure, I thickened the ribs. To make sure it stays in the ground, but not under the surface, I widened the collar at the light base. Voila!

The 3D rendering

The actual item, with light base in place
 
If you're interested, I've posted it to Thingiverse, and you can get a copy of the .STL file and print your own if you like.


Monday, March 18, 2013

This is the voice of Colossus!

All hail the voice of world control! Well, 3D printing at the Fab Shop at any rate.

My new Makergear M2, Colossus

After a quick unpack, and a scavenge through a snowstorm of packing peanuts, he's up and running. Kudos to the folks at MakerGear, this bad boy is solid as a rock, and required only a very slight tweak of the bed to level it out. 60 minutes after the box was open, I had my first test print:


Glider test print, printed from the included SD card

My only complaint about the M2 is the lack of a power switch. The unit is powered by two separate supplies, one for the board and the other for the steppers. I understand that this complicates creation of a single switch, but the lack of one is a bit unpolished. A power strip substitutes nicely, if it is a bit bulky.

I'm keeping track of what I'm doing for the purpose of creating a startup guide for those new to 3D printing as I am. Already there are a dozen tips I've had to learn the hard way, and a coherent guide to getting started right is sorely needed. The information is out there, but it's scattered and somewhat obtuse. Check back often, as I'll be posting the guide here. I'll also be covering the projects in the works that utilize Colossus.

I haven't abandoned the pep helmet project, and as the weather warms I'll be working on that too. Colossus will come in handy to print some of the geegaws that the helmets will need.

Thursday, March 14, 2013

3D a GoGo!

After more than two months, I finally got notice this week that my MakerGear M2 has shipped, yippee!

The MakerGear M2


When it arrives, I plan on documenting the unpacking and setup here. While there's a certain amount of information out there on the M2, I haven't found a coherent setup and tutorial guide, so I'm going to try and create one.

I and a couple of friends have already created test projects that we'll be printing once the M2 is dialed in. I'll include those too.

Monday, February 18, 2013

Musical Metal!

Most folks who know me know my metal work. I purchased a CNC plasma cutter a couple of years back, and have been designing metal art and furniture since. Here are a couple of projects I've completed.

Our Ranch Logo

H-D Ranch Logo - My wife was born and raised in a small town in northern Utah, near Bear Lake. My family spent many summers there during my childhood. One summer, my fanily moved into town because my father was helping to manage a resort on the lake, and we met and fell in love. 34 years later, we've inherited a bit of land and my wife's childhood home. We spend the summers there, and my shop is located there as well. Her maiden name is Hodges, my last name is Davis, and our first names both begin with J. We both love to ride motorcycles. Shes plays guitar, I work metal, and we love each other to death. So, the logo seemed pretty self evident. This one hangs on the front of the main garage/shop.


Musical Guitar Hangers

Guitar Hangers - My wife has quite the collection of guitars (almost as many guitars as I have computers!). When she was looking for a way to store and display them, this idea popped into my head. These are hand cut 1/8" sheet metal backed with 1/4" round metal rod, and covered with a liquid silicone dip. One of these days I'll get around to putting these on Etsy, but if you're interested in something along these lines, you can drop me a line and let me know what design you'd like. I can make pretty much anything you can imagine for any instrument or item that you'd want to display on a wall.

I'll be posting more completed projects soon, including a ski chair, and some additional 2D and 3D metal art pieces.